


home | overview | context menu | partial sync | advanced
Overview
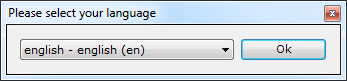 |
When opening Create Synchronicity for the first time, you can select the program language. |
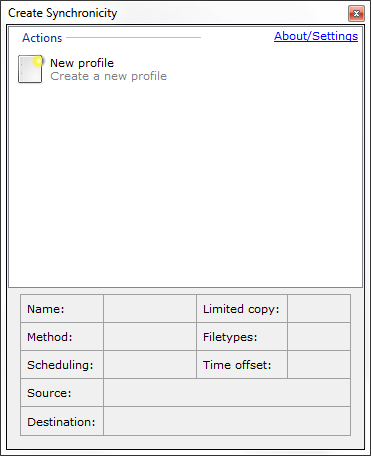 |
You'll then see the base screen. |
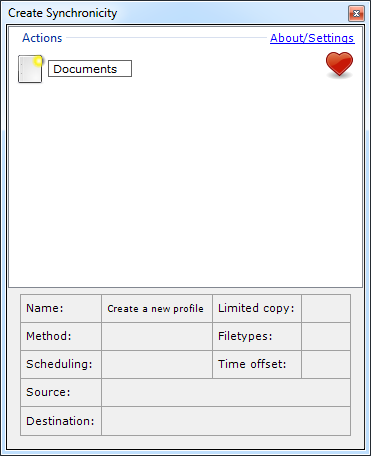 |
Click the "New Profile" icon, type in a name for the profile and press Enter. |
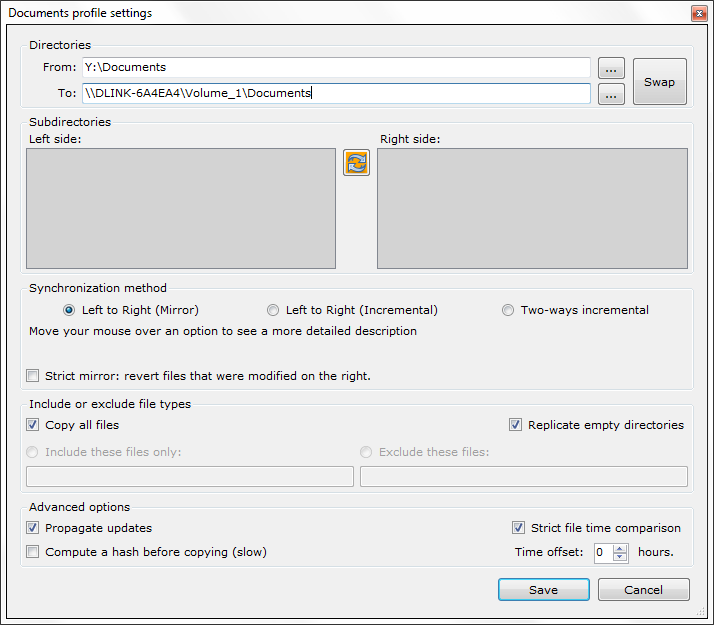 |
You'll now be in the configuration screen. Type the path to the source and destination folders. |
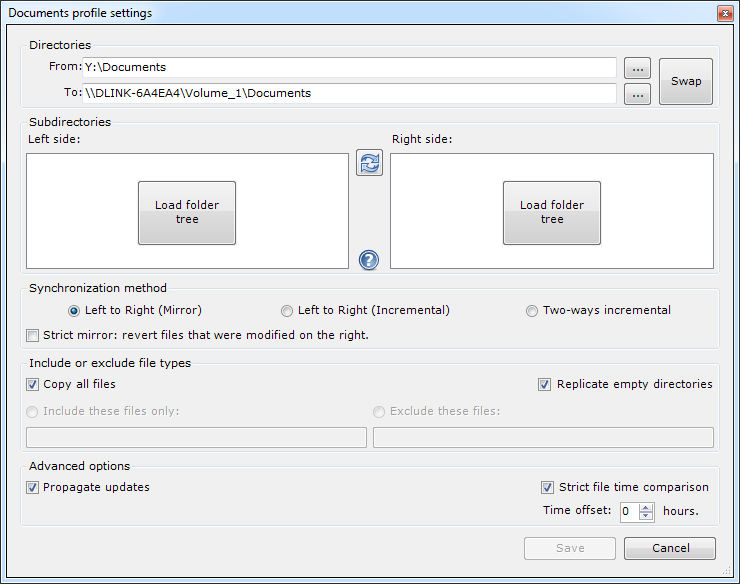 |
Then, click the "Load folder tree" button(s). |
 |
You can optionally check or uncheck subdirectories in the tree on the left. Also, I recommend turning on "Strict Mirror", so that if any unneeded files are in the destination location, they will be removed. |
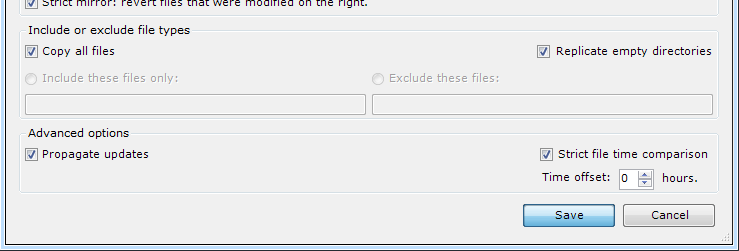 |
Click Save in the lower right. |
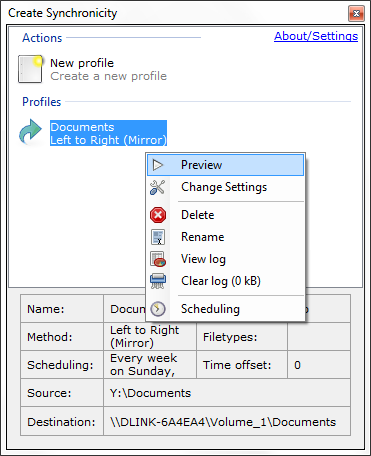 |
You'll now be at the base screen. Click on the new profile and a menu will appear, choose Preview from this menu. |
 |
You can see which files will be copied or updated. You can click Close to cancel, or click Synchronize to actually copy/update the files. |
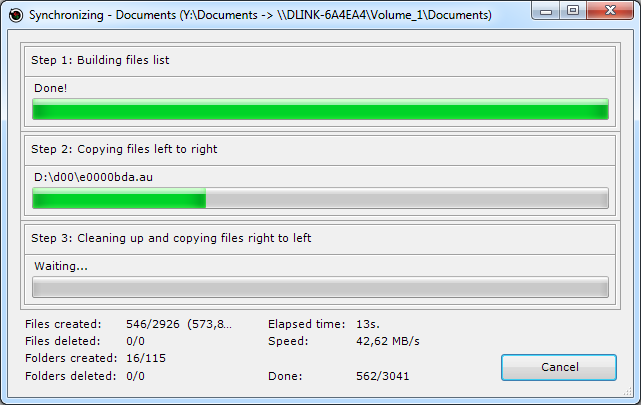 |
While your files are being synchronized, Create Synchronicity displays the current progress. |
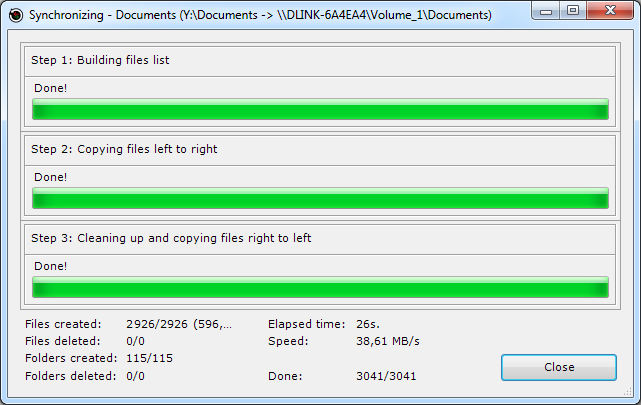 |
Done! Your files have been copied successfully. |
(Based on the tutorial on create synchronicity's website.)
You can now optionally adjust more settings,
- Exclude file types by typing extensions like "pyc;tmp" under "Exclude these files"
- Exclude subdirectories by unchecking them in the tree
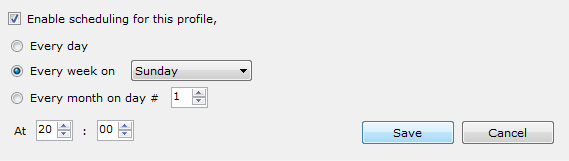
- Schedule synchronization by clicking a profile in the base screen, then clicking "Scheduling"
Back