home | overview | context menu | partial sync | advanced
Partial Sync
Another new feature is to start a partial synchronization, for just the selected file(s).
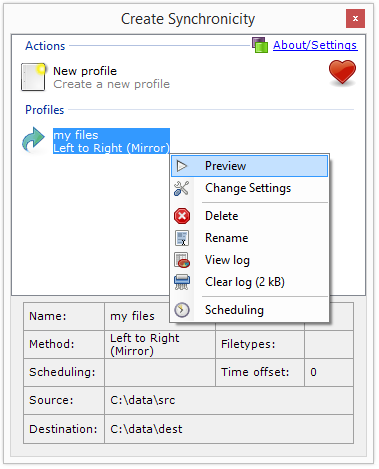 |
Here's an example of how to start a partial sync. Open Create Synchronicity and start a Preview for one of your profiles. |
 |
Click an entry in the preview list to select it. |
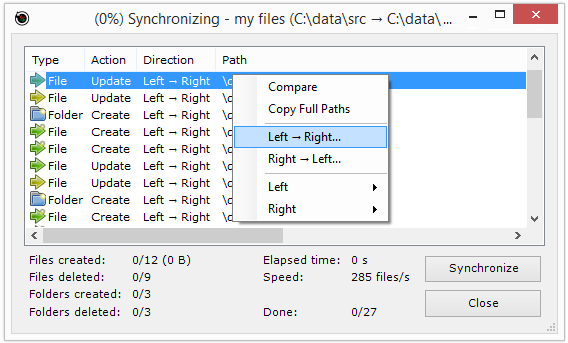 |
Right-click. We can synchronize just this file, by clicking Left → Right |
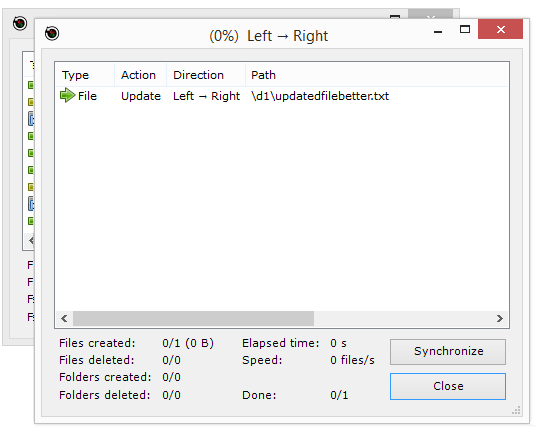 |
From here, we can click Synchronize to sync the selected file, or Close to cancel |
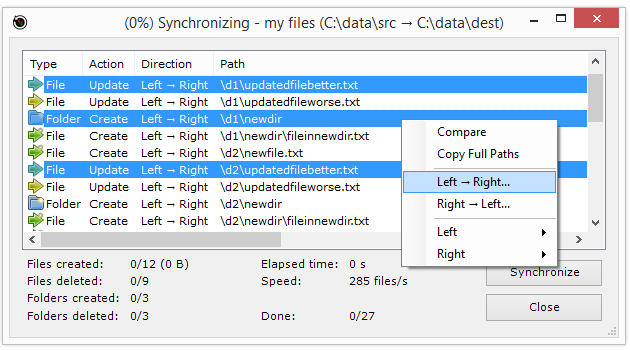 |
There are two ways to select more than one row in the list. You can hold the Control key while clicking a row. You can also hold the Shift key while clicking an item, to select a range of rows. You can then sync everything that was selected. |
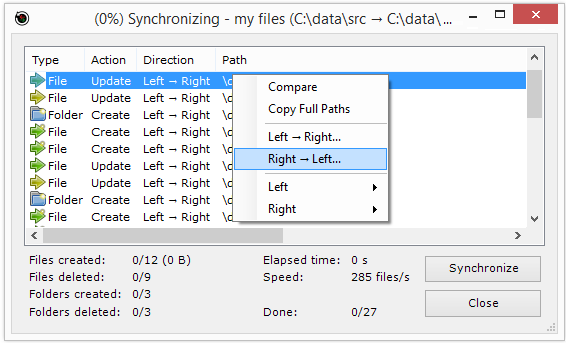 |
We can also Synchronize a selected file from Right to Left. This means that the file in the destination will be copied to the source. |
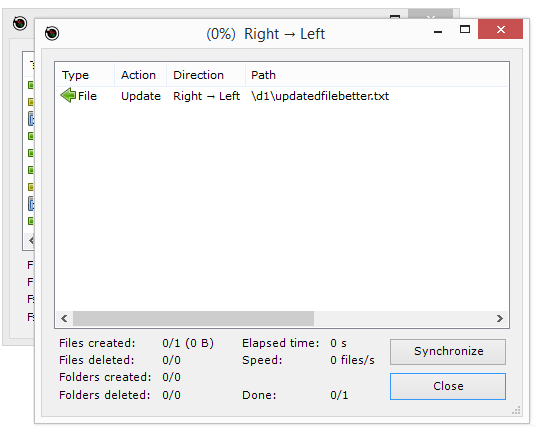 |
From here, we can click Synchronize to sync the selected file, or Close to cancel |
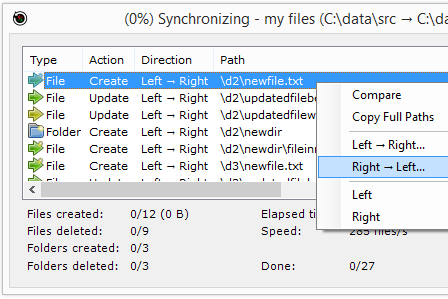 |
Note that if you synchronize a Delete from right-to-left it becomes a Create (because you are copying the file from the destination to the source). And if you synchronize a Create from right-to-left it becomes a Delete. |
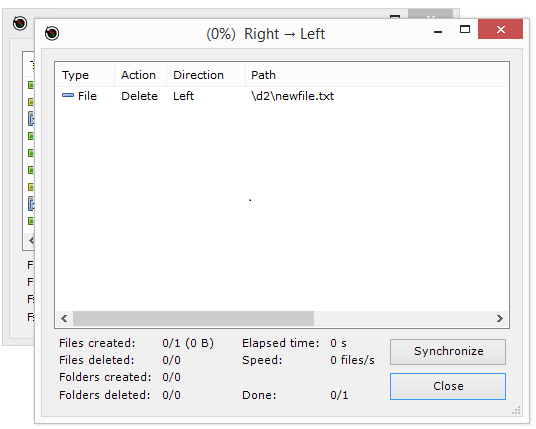 |
In this example, we are synchronizing a Create from right-to-left, which becomes a Delete. If we click Synchronize here, we'll delete the file. |
Partial sync can be useful if there are files on the destination side that should be kept. For example, you might be synchronizing from your desktop computer to your laptop computer, and you forgot that your laptop actually has the latest version of a file. You look at the preview list, and notice that the update arrow for the file is yellow - which means that the destination has a more-recent version of the file. You can right-click on the row, and click Right-to-left, to quickly bring over the changes from the laptop to the desktop.
Back


